Your shopping cart is empty!
How to Measure Your Kitchen Before Ordering DIY Cabinets
Posted By: Eva Times Read: 13
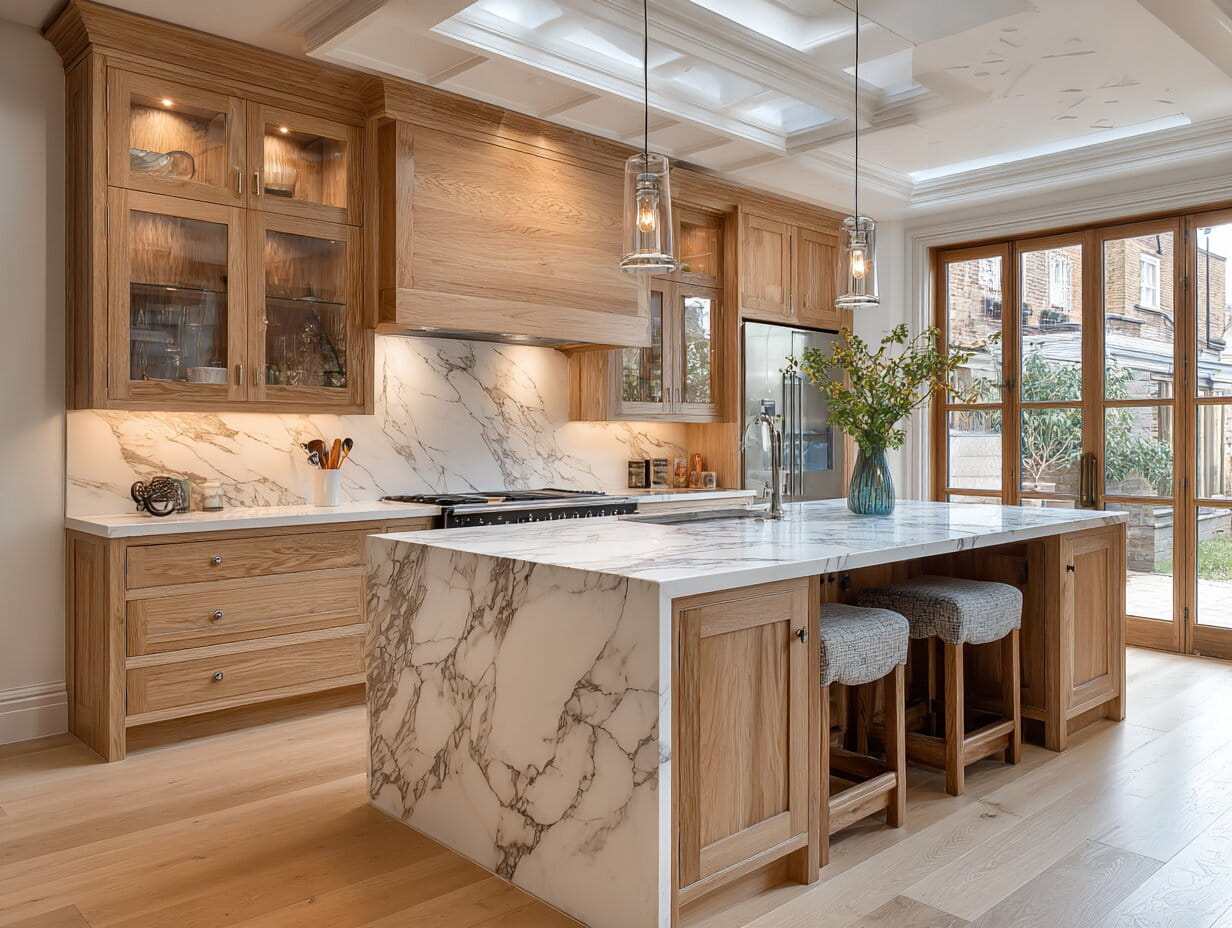
The first step in getting a do it yourself kitchen cabinet set is taking proper measurements. Before deciding on cabinet sizes, colors, or styles, it is crucial to know exactly how much space is available.
Wall length tells you only part of the story. Ceiling height, windows, doors, and appliances can all change where cabinets and fillers go. That is why it is essential to prepare a complete measurement plan and not just the length of each wall. A proper floor plan will include doors, windows, ceiling height, appliances, plumbing, and more.
How to Measure Your Kitchen for DIY Cabinets, Step by Step
Once you have exact measurements, planning the kitchen is simple. Work through these steps in order and record everything in inches.
Set aside 45 to 60 minutes for a standard kitchen and closer to 90 minutes if you have an island, a peninsula, or an irregular room shape.
Step 1: Sketch the Kitchen Layout
To begin planning your do it yourself kitchen cabinets (DIY kitchen cabinets), you need a simple overhead layout of your cooking space. Professional drafting tools are unnecessary. All that is required is graph paper, a pencil, a tape measure, and a level.
Make a sketch of the walls, corners, doors, windows, and any openings. Clearly label each wall (Wall A, Wall B, and so on) so that there is no confusion about which measurements belong to which wall.
You must also draw in fixed units like islands, pillars, soffits, vents, etc. Make sure that you take pictures of the walls as well. While the sketch will provide the measurements, the photos will complete the picture.
Step 2: Measure All Walls From Corner to Corner
Make sure you measure each of your walls from corner to corner and write down your measurements in inches. On longer walls, also measure the separate sections created by windows, doors, or any other openings. Measure to the wall itself, not to the baseboard.
For example, if there's a window in the wall, measure the distance from the left corner to the window, the width of the window, and the distance from the window to the corner on the opposite side. All of these section measurements must add up to the total length of the wall.
Walls are rarely perfectly straight, so measure each wall at three heights: near the floor, at countertop height (about 36 inches), and at wall cabinet height (about 54 inches). Use the smallest number in your plan. It is also worth checking each corner with a square, since many are not a true 90 degrees.
Keep in mind to measure twice. This habit will help you avoid having to correct mistakes after choosing the cabinetry.
Step 3: Check the Floor Level
Place a level along the floor where the base cabinets will sit. If the floor slopes, find the highest point and mark it on your sketch. Base cabinets are leveled from that point, so it affects the final height of your countertop and wall cabinets. Even a quarter inch of slope across a run can throw off a filler panel later.
Step 4: Measure the Height of Ceilings
Keep ceiling height in mind and measure it from the floor in a few spots. If your ceiling has a complicated design, record each height separately.
In addition, pay attention to ceiling features such as beams, soffits, and bulkheads. Note how deep each one is and how far it drops from the ceiling. These features will influence your choice of tall cabinets and wall cabinets, and how high the upper cabinets can go.
Step 5: Take Measurements of Doorways
Be sure to measure the width of every door opening that plays a role in the kitchen layout. After that, measure the distance from the door to the nearest wall corner.
Make sure not to miss the door trim. Measure from the outside edge of the trim (casing), because cabinets cannot overlap it. The size of the door opening, trim included, determines what the cabinet dimensions have to be.
Do not forget to note the direction the door swings. The door swing can have an impact on the arrangement of cabinets and appliances.
Step 6: Take Measurements of Windows
Measure the width of all windows, including trim, and their positions in relation to the walls. First measure the distance from the wall corner to the edge of the window trim. After that, find out how high the window sill is from the floor and how far the top of the window is from the ceiling.
The sill height matters more than it seems. Standard countertops sit about 36 inches from the floor, so a lower sill can get in the way of a base cabinet run or backsplash.
Step 7: Measure Your Appliances
Appliances are where many cabinet orders go wrong. Measure the width, height, and depth of every appliance you are keeping, and check the specifications of any you plan to buy:
- Refrigerator
- Range, cooktop, or wall oven
- Dishwasher
- Range hood
- Microwave (built-in or over the range)
For the refrigerator, also allow room for the door to open fully and for the ventilation gap the manufacturer recommends. Most dishwashers need a 24-inch opening, but confirm yours. Mark each appliance's location on your sketch.
Step 8: Find the Power Outlets and Switches
Indicate in your sketch where each power outlet and light switch is located. It is useful to write down how far each one is from the floor and from the nearest wall corner.
This ensures that the counter or backsplash will not cover a power outlet or block a light switch. Also mark any dedicated outlets, such as a 240-volt outlet for an electric range.
Step 9: Recognize Vents, Piping, and Other Elements
Before planning your do it yourself kitchen cabinets (DIY kitchen cabinets), identify heating vents, radiators, visible pipes, columns, beams, and other permanent items. Even the slightest obstructions can determine where a cabinet goes.
In case you cannot move these items easily, consider them fixed in your kitchen cabinet plan. If you cook with gas, mark where the gas line comes out of the wall or floor.
Step 10: Take the Measurements of the Sink and Water Supplies
Make sure you measure the width and depth of the sink and define its proper place on the countertop. If you are going to replace the sink soon, be sure to check the specifications of the new sink.
Moreover, mark the center point of the sink on the kitchen layout. Also note where the water supply lines and drain come out of the wall, measured from the floor and from the nearest corner, since the sink base cabinet has to fit around them.
If you're not confident measuring plumbing lines or gas connections yourself, it's worth having a plumber or contractor confirm those points before you finalize your order.
Standard Kitchen Cabinet Dimensions to Keep in Mind
These common sizes help you check your plan against your measurements. Exact sizes vary by cabinet line, so confirm them before you order.
| Item | Typical Size |
|---|---|
| Base cabinet height | 34.5 inches (36 inches with countertop) |
| Base cabinet depth | 24 inches |
| Wall cabinet depth | 12 inches |
| Wall cabinet height | 30, 36, or 42 inches |
| Space between countertop and wall cabinets | 18 inches |
| Tall (pantry) cabinet height | 84, 90, or 96 inches |
| Cabinet widths | Usually in 3-inch steps, from 9 to 36 inches |
Common Measuring Mistakes to Avoid
Most cabinet fit problems come from a few small slips during measuring:
- Measuring to the baseboard instead of the wall
- Measuring each wall at only one height
- Leaving out door and window trim
- Rounding numbers up instead of recording them to the nearest 1/8 inch
- Using old appliance sizes when new appliances are on the way
Double Check Your Measurements Before Ordering DIY Cabinets
Now that your measurements are done, review the complete plan from beginning to end. And in order to do that, check that:
- Every wall has been measured accurately, at three heights
- Wall sections add up precisely
- Doors and windows are marked, trim included
- Ceiling height is recorded
- The floor's high point is marked
- Appliances have exact dimensions
- Outlets and switches are identified
- Plumbing and gas lines are marked
- Fixed obstructions are included
- Photos match your sketch
Turn Your Measurements Into a Cabinet Plan
Accuracy in measurement is only the first step. The next is matching cabinet sizes to your space while allowing for appliances, fillers, panels, and corners.
At CabinetDIY, you can use your measurements and kitchen photos as the starting point for planning. Our experts translate your space into a practical layout, while our RTA and assembled kitchen cabinet options give you complete flexibility in how you approach your project. Send us your measurements, and we'll help you build the plan.
Once your plan is ready, take a look at our DIY kitchen cabinets to find the style that fits. A good cabinet plan should fit the room on paper before you start assembling anything.
Comments
Pinterest CabinetDIY
Latest Blog Posts
22
Sep
0
How to Measure Your Kitchen Before Ordering DIY Cabinets
Learn how to measure your kitchen for DIY cabinets, from walls and windows to appliances and plumbing, before placing your order....
21
Sep
0
Slim Shaker or Regular Shaker? Here's What You're Actually Choosing Between
Slim shaker cabinets have narrower rails and a larger center panel. See how they compare with regular shaker on style, hardware, and kitchen size....
16
Sep
0
What Color Walls Go With Yellow Kitchen Cabinets?
What color walls go with yellow kitchen cabinets? Explore stylish color combinations and practical tips for creating a bright, balanced kitchen....
14
Sep
0
How to Keep Brown Kitchen Cabinets Looking Rich (Cleaning & Care Tips)
Keep brown kitchen cabinets looking rich with practical cleaning, stain removal, and maintenance tips that protect the finish and extend cabinet life....
01
Sep
0
How Kitchen Lighting Changes the Way Cabinet Colors Look
Cabinet colors shift under different lighting. See how natural and artificial light affect white, gray, wood, and brown cabinet finishes before you choose....











Best Sellers
Information
My Account