- Home
- All Cabinets
- Almond Green
- Almond Grey
- Aquamarine Shaker
- Black Shaker
- British Chai
- Cabernet Sauvignon
- Cashmere Grey
- Cashmere Grey Shaker
- Charcoal Black
- Chocolate Shaker
- Chrysler Chalk
- Chrysler Sage
- Cider Brown
- Classic Gray
- Classic Ivory
- Classic White
- Cream Shaker
- Crystal Aged Tobacco
- Crystal Butterscotch
- Crystal Navy
- Crystal Taupe
- Crystal Vanilla
- Crystal White
- Deco Black
- Deco Marine
- Deco White
- Desert Sand Shaker
- Dove Shaker
- Dusty Blue Shaker _
- Espresso Shaker
- European White
- Farmhouse Grey
- Farmhouse Maple
- Farmhouse Storm
- Farmhouse Taupe _
- Florence White
- Frosted Beech
- Frosted Gray
- Frosted White
- Hazelnut Roast
- Hickory Shaker
- Ice Gray
- Inset Linen White
- Ivory White
- Maple Shaker
- Milano Sand Dune
- Milano White Sand
- Modern Maple Shaker
- Modern White
- Moonlight Gray
- Moonlight Java
- Navy Blue Shaker
- Olive Gray
- Paris Gray
- Phantom Gray
- Phantom Gray Crystal
- Phantom Gray Shaker
- Phantom Gray Square
- Roman Toffee
- Royal Blue Shaker
- Saldana Cherry
- Santorini White
- Savana Toffee
- Sicilian Black
- Sicilian Blue
- Sicilian Bourbon
- Sicilian Grey
- Sicilian Oak
- Sicilian White
- Sicilian Whitebarn
- Slim Shaker Black
- Slim Shaker Green
- Slim Shaker Oak Bianco
- Slim Shaker Thunder Grey
- Slim Shaker White
- Slim Shaker White oak
- Steel Gray
- Storm Gray
- Storm Phantom Grey
- Storm White Shaker
- Uptown Espresso
- Uptown Gray
- Uptown White
- Vanilla Shaker
- Venetian Charcoal Black
- Venetian White _
- Whiskey Oak Shaker
- White Oak Shaker
- White Shaker
- XR - Barbie Pink Diamond
- XR - Barbie Pink Shaker
- XR - Barbie Pink Slim Shaker
- XR - Black Diamond
- XR - Black Shaker
- XR - Burgundy Maroon Diamond
- XR - Burgundy Maroon Shaker
- XR - Burgundy Maroon Slim Shaker
- XR - Clementine Orange Diamond
- XR - Clementine Orange Shaker
- XR - Clementine Orange Slim Shaker
- XR - Country Green Diamond
- XR - Country Green Shaker
- XR - Country Green Slim Shaker
- XR - Emerald Green Diamond
- XR - Emerald Green Shaker
- XR - Lavender Musk Diamond
- XR - Lavender Musk Shaker
- XR - Lavender Musk Slim Shaker
- XR - Mustard Yellow Diamond
- XR - Mustard Yellow Shaker
- XR - Mustard Yellow Slim Shaker
- XR - Ocean Breeze Diamond
- XR - Ocean Breeze Shaker
- XR - Ocean Breeze Slim Shaker
- XR - Peach Blush Diamond
- XR - Peach Blush Shaker
- XR - Peach Blush Slim Shaker
- XR - Powder Pink Diamond
- XR - Powder Pink Shaker
- XR - Powder Pink Slim Shaker
- XR - Purple Frost Diamond
- XR - Purple Frost Shaker
- XR - Purple Frost Slim Shaker
- XR - Purple Rain Diamond
- XR - Purple Rain Shaker
- XR - Purple Rain Slim Shaker
- XR - Sage Green Diamond
- XR - Sage Green Shaker
- XR - SunGold Yellow Diamond
- XR - SunGold Yellow Shaker
- XR - SunGold Yellow Slim Shaker
- XRZ - Barbie Pink
- XRZ - Burgundy Maroon
- XRZ - Clementine Orange
- XRZ - Country Green
- XRZ - Lavender Musk
- XRZ - Mustard Yellow
- XRZ - Ocean Breeze
- XRZ - Peach Blush
- XRZ - Powder Pink
- XRZ - Purple Frost
- XRZ - Purple Rain
- XRZ - SunGold Yellow
- Y-Series Gatsby Dove
- Y-Series Gatsby Sage
- Y-Series Gatsby Taupe
- Y-Series Red Oak
- Y-Series Rift Red Oak
- Y-Series Rift White Oak
- Y-Series Slim Shaker Maple
- Y-Series Slim Shaker Rift White Oak
- Y-Series Slim Shaker Vanilla
- Y-Series White Oak
- Z-Series Black Bourbon
- Z-Series Blue Sage Satin
- Z-Series Brilliant Ivory Glossy
- Z-Series Brilliant Purple Glossy
- Z-Series Brilliant White Glossy
- Z-Series Casablanca
- Z-Series Charcoal Blue Oak
- Z-Series Chestnut Brown
- Z-Series Drift Sand
- Z-Series Egyptian Green Satin
- Z-Series European Bamboo
- Z-Series European Beech
- Z-Series European Maple
- Z-Series Fairy White
- Z-Series Farmhouse Oak
- Z-Series Farmhouse Teak
- Z-Series Forest Black
- Z-Series Forest Grey
- Z-Series French Distress
- Z-Series Hickory Charcoal
- Z-Series Linen Brown
- Z-Series Linen Gray
- Z-Series Matte Almond Cream
- Z-Series Matte Black
- Z-Series Matte Blue Sail
- Z-Series Matte Charcoal Black
- Z-Series Matte Cotton White
- Z-Series Matte Peacock Green
- Z-Series Matte Powder Grey
- Z-Series Metallic Leather
- Z-Series Metallica
- Z-Series Midnight Black Glossy
- Z-Series Milan Gray
- Z-Series Oak Bianco
- Z-Series Oak Natural
- Z-Series Oak Sonoma
- Z-Series Pine Green Satin
- Z-Series Red Oak
- Z-Series River Blue Glossy
- Z-Series Ruby Red Glossy
- Z-Series Saddle Wood
- Z-Series Sage Green Satin
- Z-Series Silver Chrome Glossy
- Z-Series Silver Gray Glossy
- Z-Series Smoke Teak
- Z-Series Smoke Walnut
- Z-Series Thunder Gray Glossy
- Z-Series Tiger Wood Glossy
- Z-Series Tobacco Cedar
- Z-Series Vintage Walnut
- Z-Series White Oak
- Z-Series White Pine
- Z-Series White Sand
- Z-Series White Satin
- Z-Series Wild Cypress
- CABINET COMPARISON
- White Cabinets
- Grey Cabinets
- Modern Cabinets
- Black Cabinets
- Blue Cabinets
- Taupe Cabinets
- Painted Cabinets
- Shaker Cabinets
- Matte Cabinets
- Black & White Cabinets
- Blue & White Cabinets
- Grey & White Cabinets
- Green Cabinets
- Frameless Cabinets
- Mid Century Cabinets
- FarmHouse Cabinets
- Red Cabinets
- Bamboo Cabinets
- Stained Cabinets
- Espresso Cabinets
- Oak Cabinets
- Maple Cabinets
- Cinnamon Cabinets
- Cherry Cabinets
- Brown Cabinets
- Antique Cabinets
- Budget Cabinets
- Off White
- Natural Wood Cabinets
- Distressed Cabinets
- Cream Cabinets
- Hickory Cabinets
- Slim Shaker Cabinets
- Garage Cabinets
- Inset Cabinets
- Pink Cabinets
- Yellow Cabinets
- Orange Cabinets
- Purple Cabinets
- Burgundy Cabinets
- Kitchen
- Gallery
- Style Test
- Design 1,2,3
- Free Sample
- ASSEMBLY HELP
- Contact Us
Transform Your Space with these Creative Do-It-Yourself Kitchen Cabinet Update Ideas
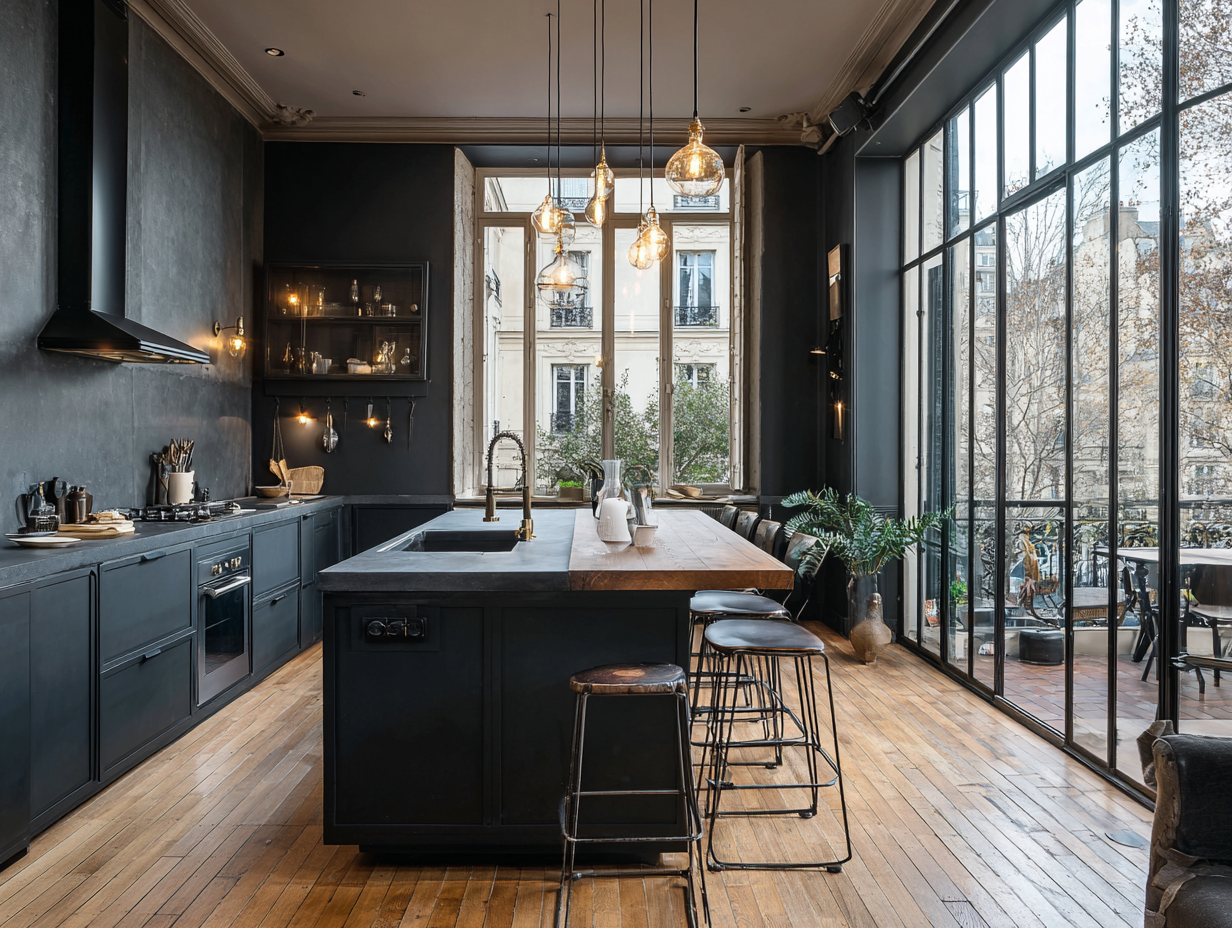
If you’re planning to revamp your kitchen and think you need to discard your old cabinetry for it, then we’ve got good news for you - you don’t need to put your old cabinets away to renew your kitchen’s look! With some easy DIY ideas, you can update your old kitchen cabinetry without replacing it.
All you’ll need are paint, inserts, molding, and new hardware.
So, here are some creative do-it-yourself kitchen cabinet update ideas that give a professional look to your cabinetry, as well as refresh the overall look and feel of the heart of your home.
Creative Do-it-Yourself Kitchen Cabinet Update Ideas
#1. Decorative Edge
For this update, the things required are a cabinet door with an inset panel and 1-inch wooden ball knobs. Lay the balls on the panel’s inner edge, placing as many as possible along each side, spaced evenly. Secure the balls in place using a strong adhesive. When the adhesive dries, prime and paint your cabinet with the desired color, and then reattach the hardware.
#2. Glass Cabinet Door
You can add a glass panel to an old cabinet door to update its look. For a distinctive look, choose between ribbed, seeded, frosted, or clear glass. Remove the center panel with a router, and then, if desired, sand and paint it.
Cut the glass to size, having an extra half-inch on each side. Lay the glass on the frame’s back and secure it using clips. Then, reattach the hardware.
#3. Star Stenciled Door
Revamp an ordinary cabinet door with a beautiful painted design. Firstly, paint the cabinet with your preferred background color and allow it to dry. Next, tape a stencil on the door.
In case the door you’re working with consists of a recessed panel, the stencil might need to be cut to fit.
Then, paint the stencil’s open areas with a tapping motion with the help of a stencil paint brush. Finally, peel off the stencil and see your pretty painted pattern.
#4. Farmhouse Cabinets
Update your cabinetry with a barn-door-inspired design across the front of your Shaker-style cabinets. Cut a piece of wood trim that fits within the recessed panel lengthwise.
Then, secure it with wood glue. Next, to create a cross design, add two more wood trim pieces perpendicular to the first piece, and secure them in place with glue.
Cut angled wood trim pieces and secure them from corner to corner, making diagonal lines forming an X. Fill up any gaps between the trim pieces using wood filler. Then, sand, prime, and apply paint to the cabinet door.
#5. Refreshing Cabinet Look
Another interesting do-it-yourself kitchen cabinet update, this project involves the use of adhesive wallpaper to give your cabinetry a fresh look and feel.
Cut the wallpaper such that it fits inside the recessed panel of the cabinet. Peel off the backing of the adhesive about 2 inches down, and then line up the edge with the panel’s inner corner.
Pull back the adhesive backing slowly as you continue to attach the rest of the wallpaper.
#6. Copper Panel Cabinetry
To revamp your outdated kitchen cabinetry, all you need is a simple copper metal sheet.
Cut the copper sheet to the size of the raised panel of the door. Then, cut narrow wood trim pieces and make a frame around the sheet of copper.
Attach the wood trim pieces as well as the copper sheet to the panel of the cabinet using a pin nailer.
Next, create a printed design on the copper panel. For this, use a hammer and an awl for punching holes that are equally spaced, according to the design, into the copper sheet.
#7. Buffalo Check Painted Cabinetry
This farmhouse-inspired upgrade is another creative do-it-yourself kitchen cabinet update, which involves painting cabinet doors with buffalo check patterns.
Firstly, paint a recessed cabinet panel door white.
Next, with a ruler and pencil, create a grid of 2-inch squares on the surface of the inset panel.
Start with the vertical column on the far-right, and tape around every square using painter's tape.
Then, paint the exposed squares black while covering every row. Remove the tape once the paint has dried.
Then, tape the squares lying between the black squares on the same row, and paint them in gray.
Repeat the painting process for the second vertical column from the left side.
For the rest of the rows, tape around each square, lining up horizontally with a black square, and paint the exposed squares in gray.
Once the paint is dry, remove the tape to see the buffalo check design.
#8. Cottage-Style Cabinets
This do-it-yourself kitchen cabinet update can present a beautiful cottage-like look and feel to your kitchen.
All you need is a little paint and simple embellishments. Get some wooden appliques from craft stores or home improvement centers.
Paint and attach them to the cabinet doors using wood glue. To get an antiqued look, mix a paint wash to lend a distressed finish.
Closing Thoughts
Typically, refacing kitchen cabinets is much less expensive than replacing them.
As refacing involves updating only the exterior of your cabinetry without altering the cabinet boxes, this process usually costs around 30 to 50 percent less than buying replacements.
So, it’s a smart idea to go for do-it-yourself kitchen cabinet update projects to give a unique appeal to your kitchen space within budget.
Don’t Start Without Them: 10 Essential Tools for DIY Cabinet Projects
These 10 tools can help you execute professional-level Do-It-Yourself (DIY) kitchen cabinet projects. Read the blog for the complete tools list....
How Not to Ruin a Mid-Century Kitchen with the Wrong Cabinets
Your mid-century kitchen can look out of style if you install the wrong cabinets. This blog explains how to choose the right mid-century modern kitchen cabinets....
The Ultimate Guide to Maximising Space in a Small Kitchen
Feeling cramped up in your kitchen? Learn how space-saving and storage-first kitchen cabinet designs can maximize space in a small kitchen....
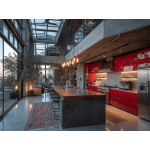
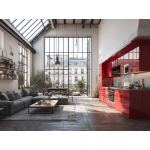
Why Red Kitchen Cabinets Are the Perfect Statement Piece for Your Remodel
Red kitchen cabinets have become the go-to cabinetry choice for high-end kitchen remodels without the premium pricing tag. Explore more in this blog....
RTA Vs. Pre-Assembled Cabinets: Which Is Right for Your 2026 Renovation?
Give your kitchen a fresh look by installing the right cabinetry. Explore whether you should choose pre-assembled or RTA kitchen cabinets....


